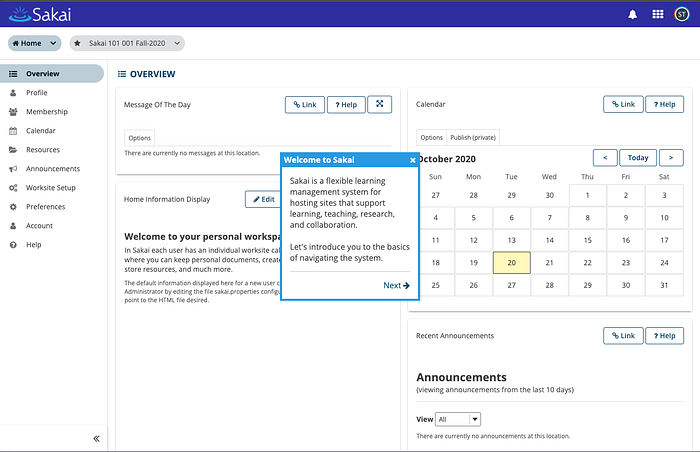
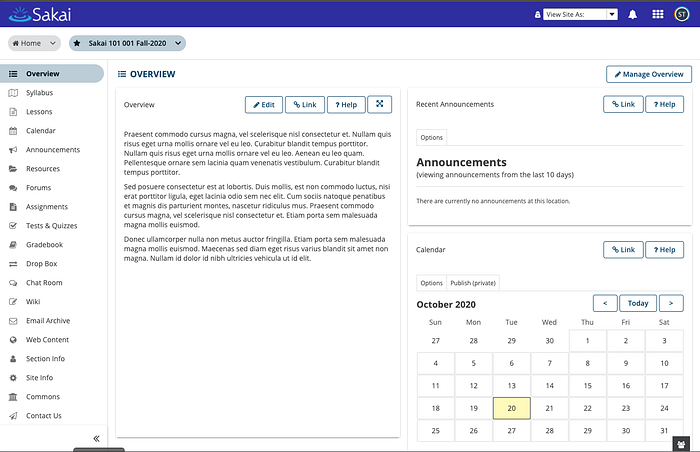
Login the Sakai and click the Administrator Workspace in the top menu.


Create a “Current Academic Term”
To create courses, we need at least one “Current Academic Term”.
Click the “Academic Term Manager” on the left pane.

Create a term. Don’t forget to check the “Current”.

Click the “Add”button, then

Create a course
Click the “Worksite Setup” and click the “Create New Site” tab.

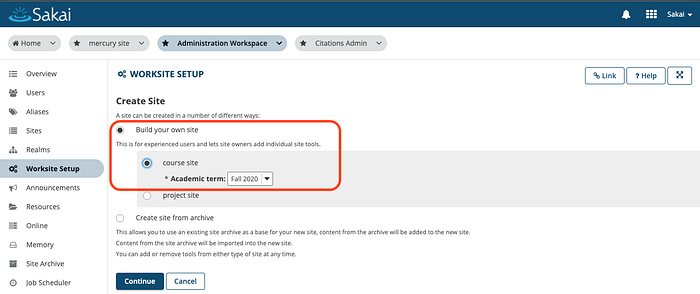
Select “Build your own site”, “ course site”, and “Academic term”.
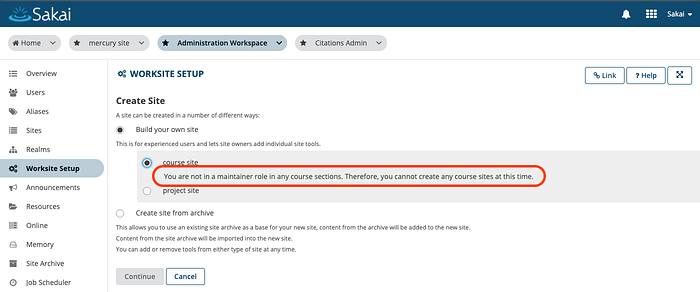
If you have this error, you are not an admin user or don’t have a “Current Academic Term”.
Click the “Continue” button and click the “Still cannot find your course/section?”
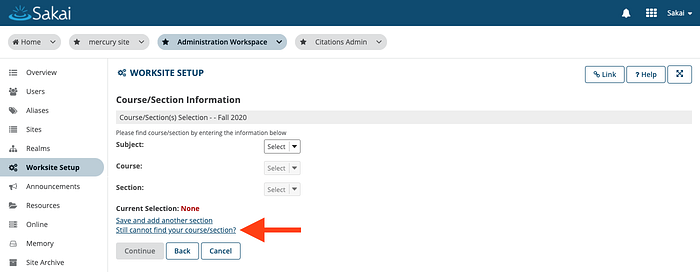
Input your course information and “Continue”.
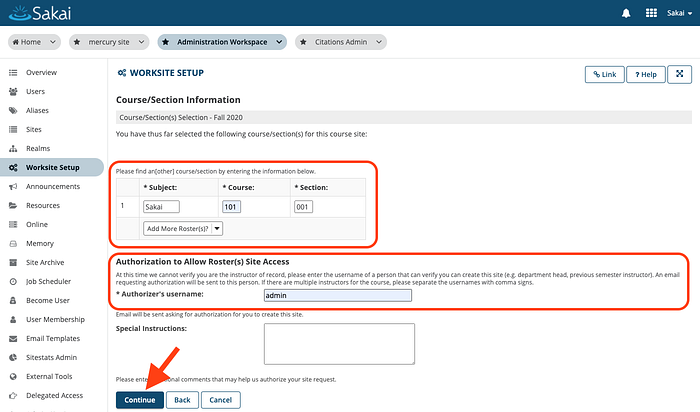
Add course information and “Continue”.
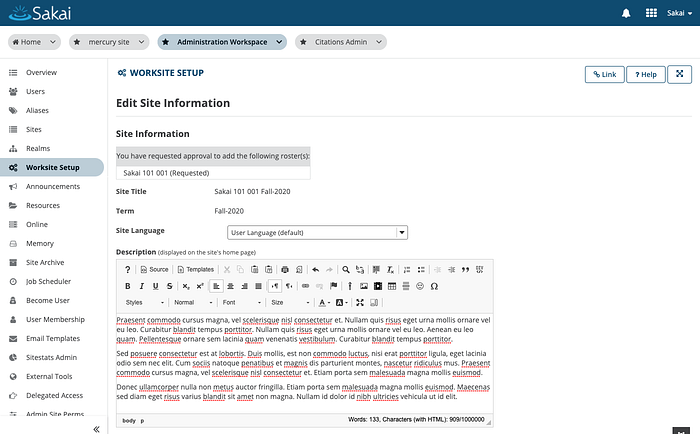
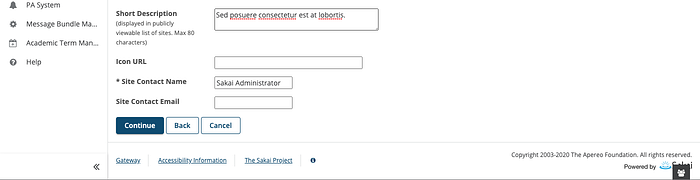
You can see the “Site Tools” selection page. There are many tools. I will select all tools include “Mathjax” and “Lesson subpage navigation” in the right pane and “Continue”.
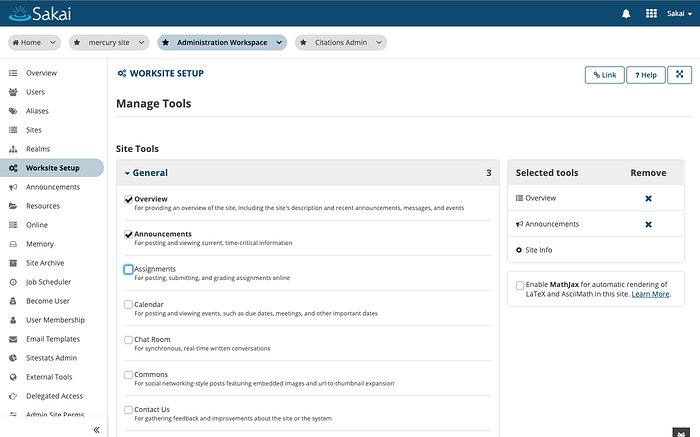
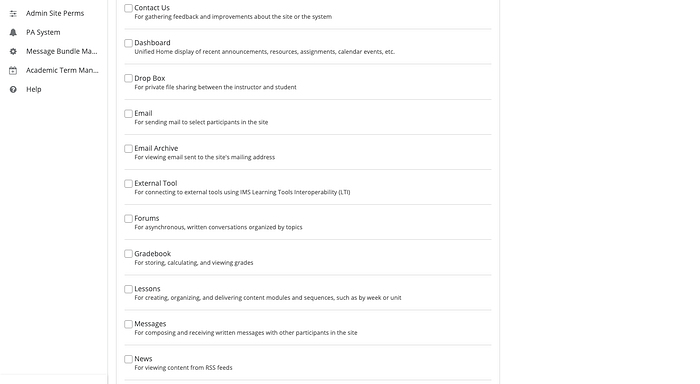
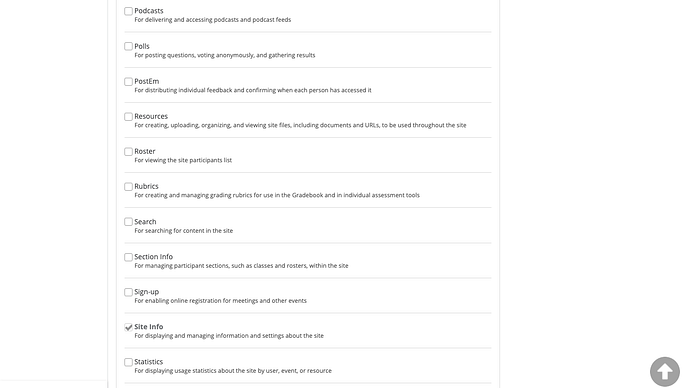
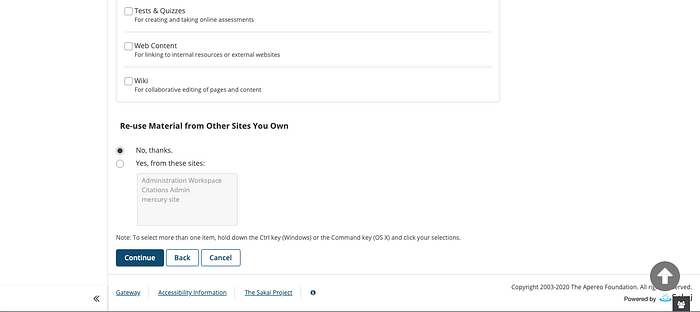
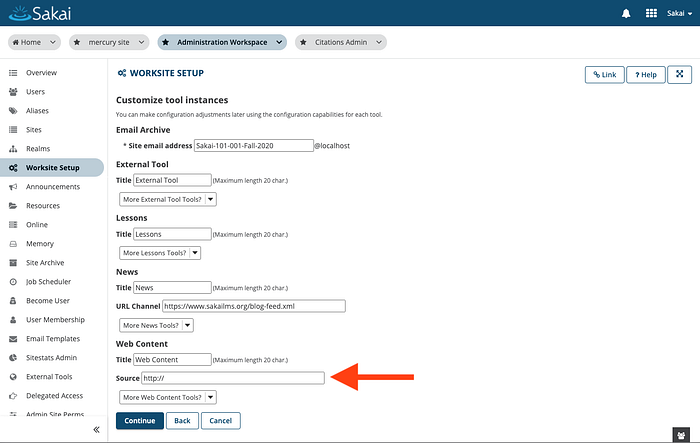
You can see the “Tools” options that you select. Put your information. If you select the “Web Content” tool, you should set the source. I put “https://youtube.com” here. Click “Continue”.
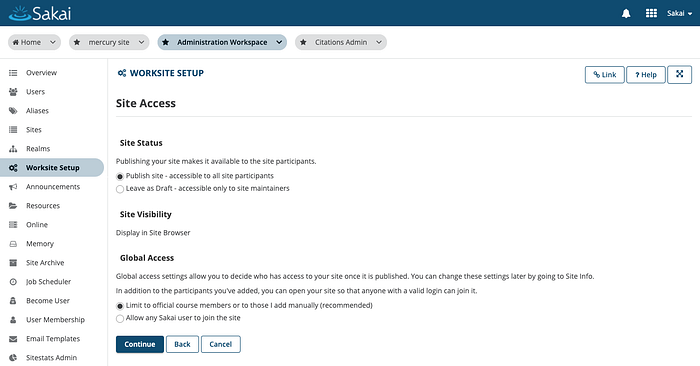
Decide your course access option. This is the default options. Click “Continue”.
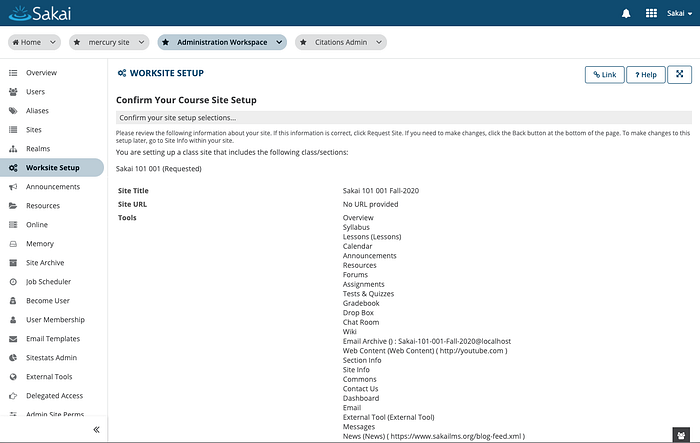
You will see your course information. Click the “Request Site”.

It will return to the “Worksite Setup > Site List” tab and your new course will be in the list and top menu.
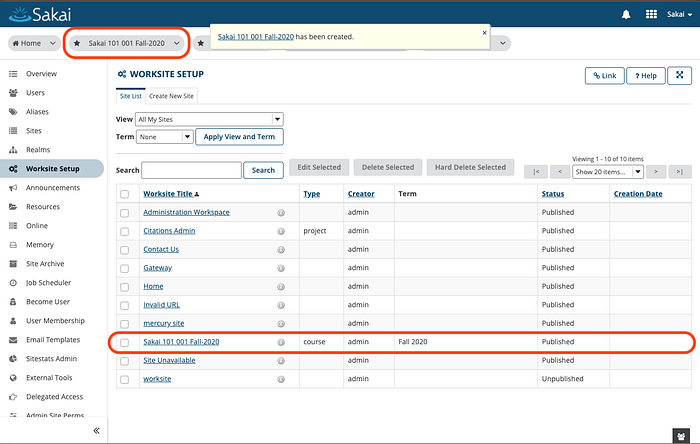
Click your new course from the top menu or in the list.
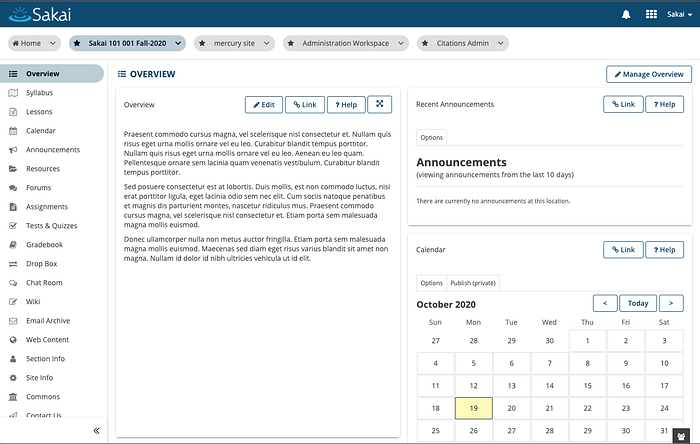
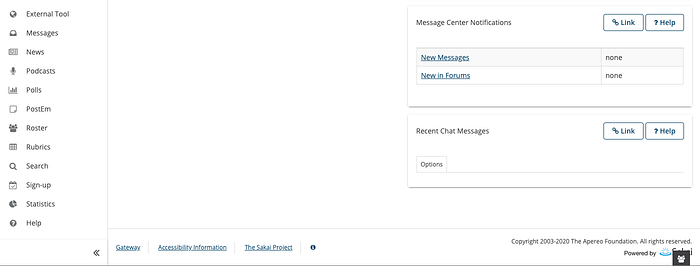
Create a teacher and a student.
Click the “Administration Workshop” in the top menu and click the “User” from left pane. Click the “New User” tab.
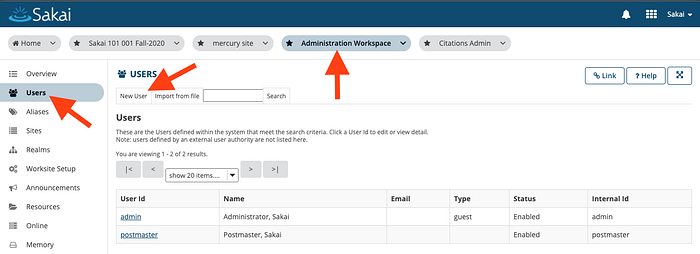
Create a teacher and a student as register users.

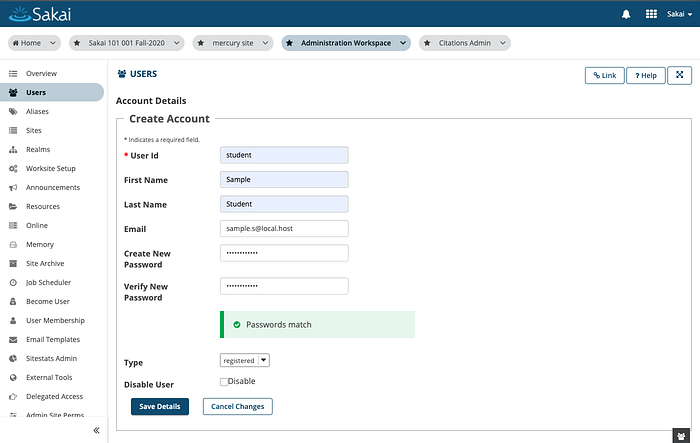
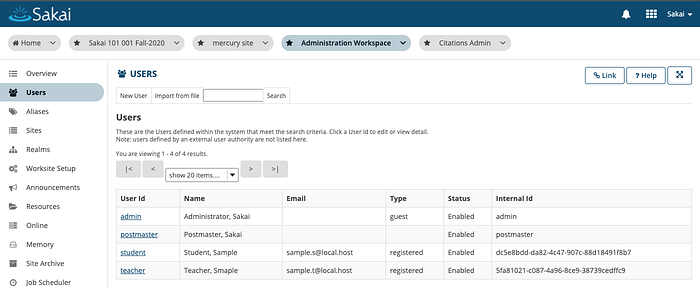
Register a teacher and students on your new course.
Go to your new course > Site Info > Add Participants.
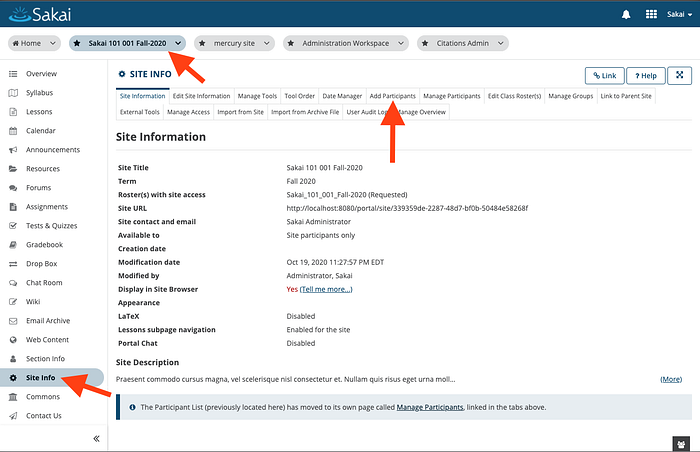
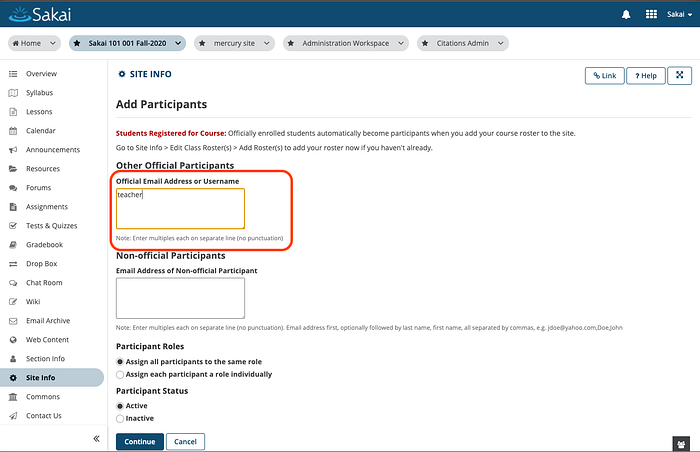
Add username in the Official Email Address or Username and “Continue”.
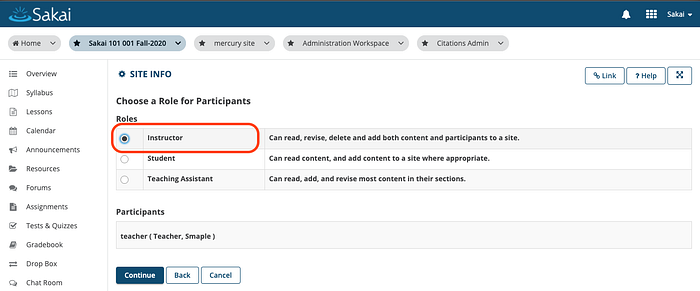
Select the user role and “Continue”.
Send email or not?
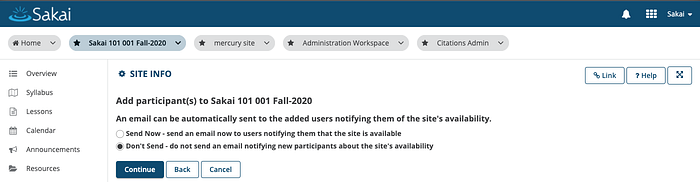

Add a student as same method.
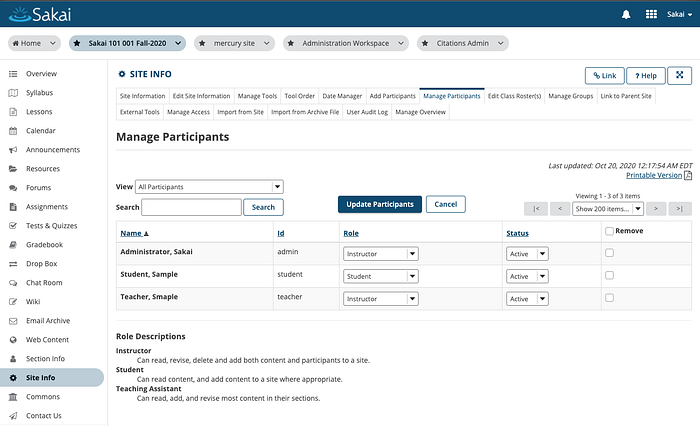
Let’s preview the course as the instructor and student.
Become User: Click “Home” in the top menu and click the “Become User”.
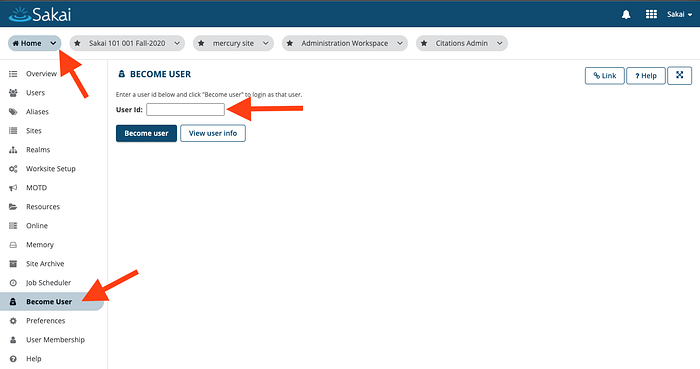
You can get “Home” and “ your new course”